In this section, we’d look at the momentary
switch interface LED dimming control using the DZ2G300TUNE_TOGG controller. At
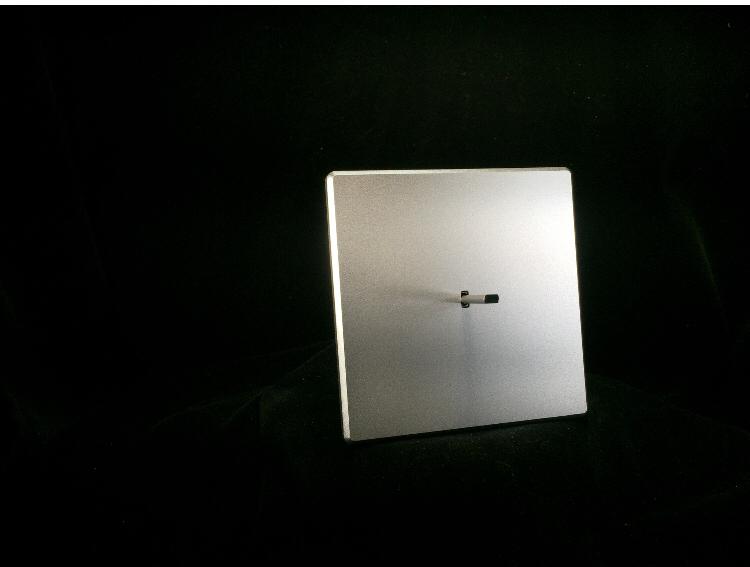
its most basic, this solution involves a single toggle switch solid aluminum
alloy faceplate, the DZ2G300TUNE_TOGGcontroller, a phase dimmable driver, and a LED light. It's easy to recognize this configuration is very
similar to a typical dimmable downlight setup. The only difference is that we extract
the dimming control electronics into a single controller from the wall plate.
The upside of this approach is the complete freedom to choose faceplates only with
mechanical switches. Besides the toggle switch faceplates, we also have a rocker switch and push-button faceplates for customers with different needs. Please see our series of solid aluminum alloy faceplates for selection.
Functions
In terms of functionalities, this single
(toggle) switch solution is strikingly similar to our DZ4G450MULT but with more
features. Besides the toggle switch, we also have a rocker switch faceplate
design that works identically for customers who prefer a flat surface as much
as possible. So, customers can choose the preferred interface while using the
same controller at the back.
Operation
Toggle Switch Movement
Light On
Any up or down movement
Light Off
Double-click down
Full Intensity
Double-click up
Dimming Up / Down
Upward / Downward movement
Cycling (Auto change of the intensity
ramping direction)
Continue-to-Hold (Automatic, only when Max
/ Min intensity is reached)
As the DZ2G300TUNE controller is also
applicable to Dynamic Lighting, users can control brightness and color
temperature by a pair of toggle switches. Thus, the minimum brightness memory
setting operation requires an additional tact switch, normally not applicable
in this LED dimming solution. This auxiliary switch serves as the “Memory
Setting Button” and is only relevant to the memory setting procedure that
installers can hide inside the flush box.
Wiring
For wiring, we suggest using a cut-LAN cable
for the DC connection between the faceplate and the DZ2G300TUNE Controller. Installers can
leave the auxiliary switch inside the flush box for any future use. In summary,
there are four DC connections to be made from the faceplate terminals to the
Controller unit:
For Dimming Control: DIM+, DIM-,
GND
For “Memory Setting Button”: CCT-,
GND (shared)
Minimum Brightness Memory
Under this setup, follow the below procedure
for the Minimum Brightness Memory setting:
1. Switch off the light
2. Hold the memory setting button and wait for the light to be on automatically (indicates memory setting mode)
3. While holding the memory setting button, adjust the light intensity as normal
4. Once the memory setting button is released, the current intensity level will become the minimum brightness level.
Note if the minimum level is set too high, it would appear dimming is forbidden. On the contrary, if the minimum level is set too low, it can confuse the subsequent user that the light can’t switch on properly. Therefore, we suggest a minimal visible level to be maintained.
See How it works in a Video
To assist interested prospects better understand above operations, please refer the following video.